
Properly setting up and charging your remote control is crucial for ensuring your robotic lawn mower operates smoothly. The following steps guide you through unlocking and charging the remote control, so you can start mowing with confidence.
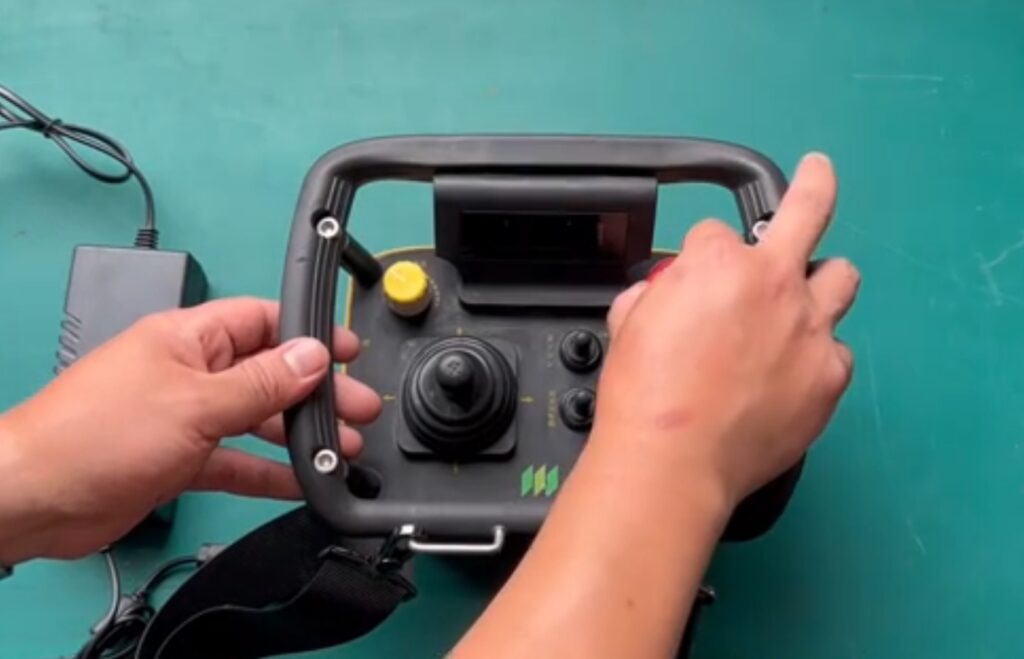
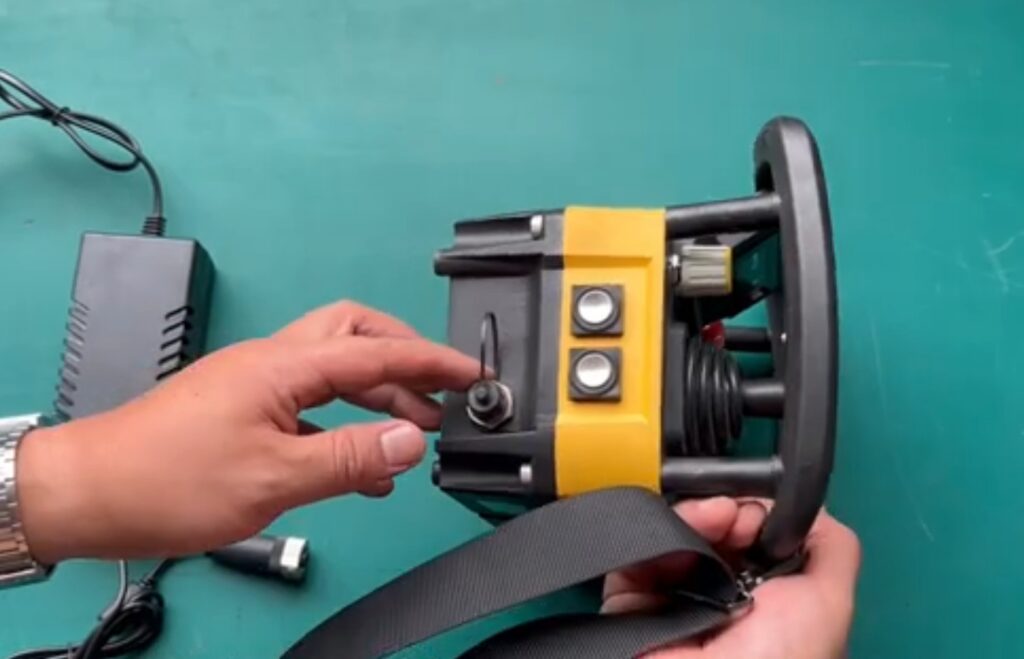
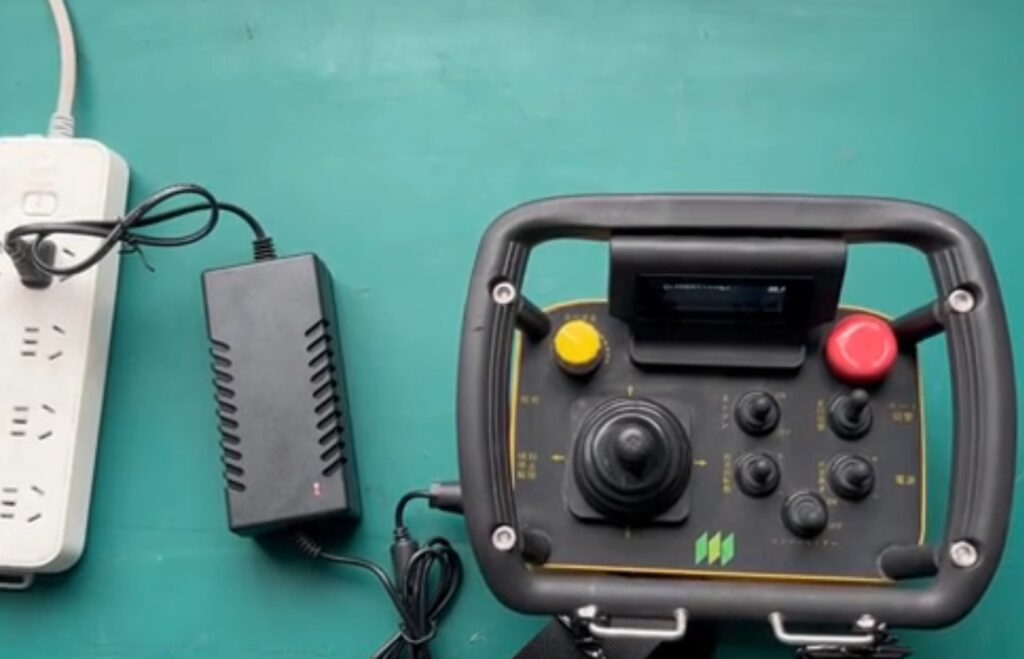
1. Turn the emergency stop button on the remote control clockwise to unlock it, and press and hold the power button on the side to turn on the device.
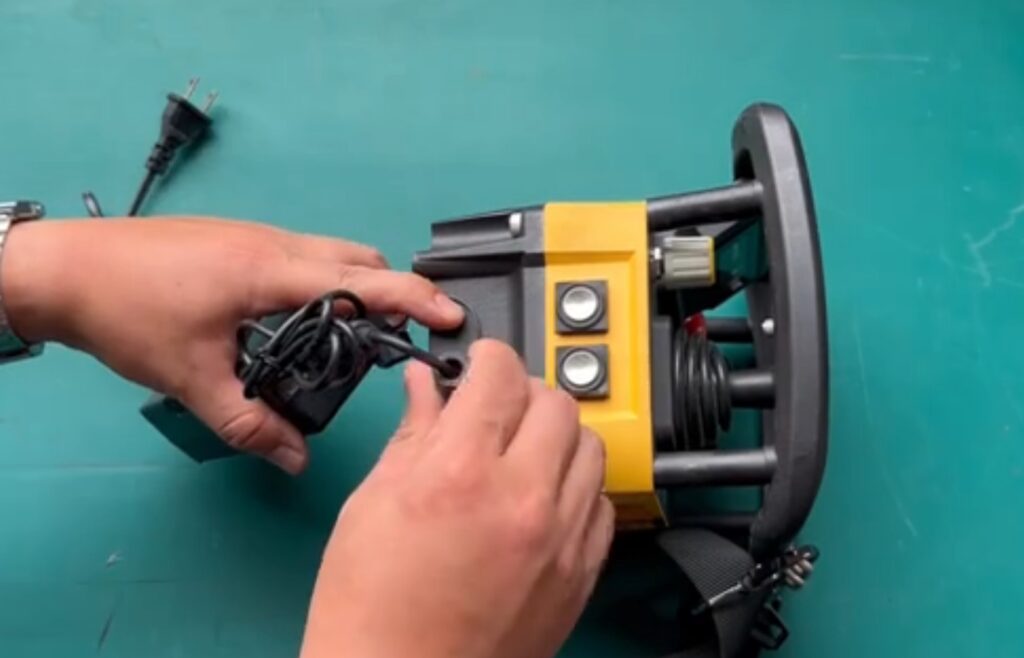
2. Unscrew the protective cover of the charging port on the left side of the remote control.
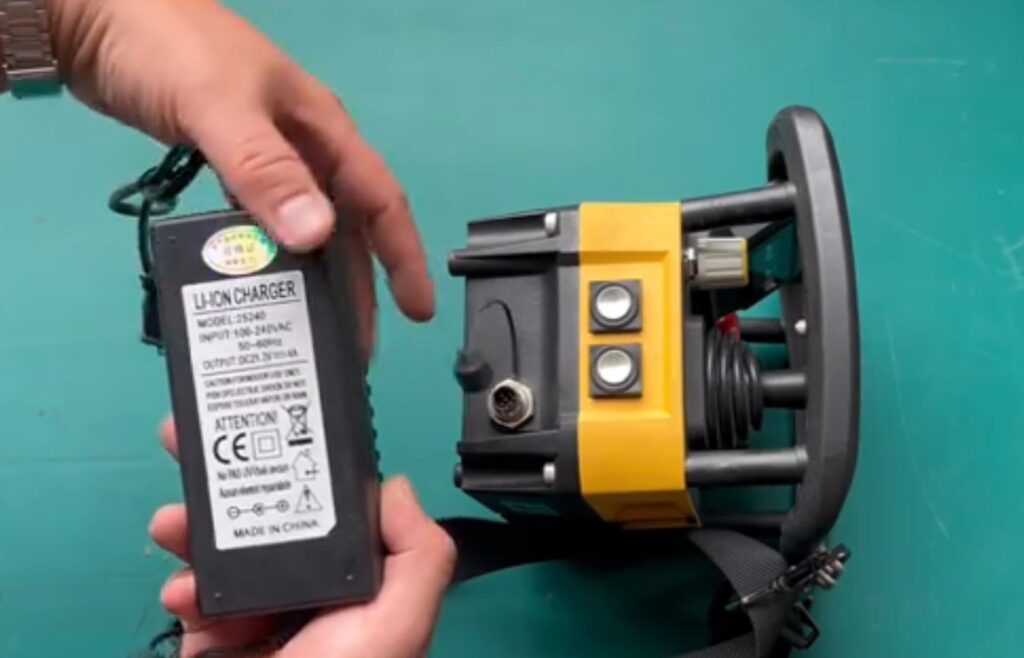
3. Check whether the parameters of the remote control charger are 25.2V, 4A dedicated charger.
4. Look at the notch in the charger head and align it with the protrusion above the remote controller charging port.
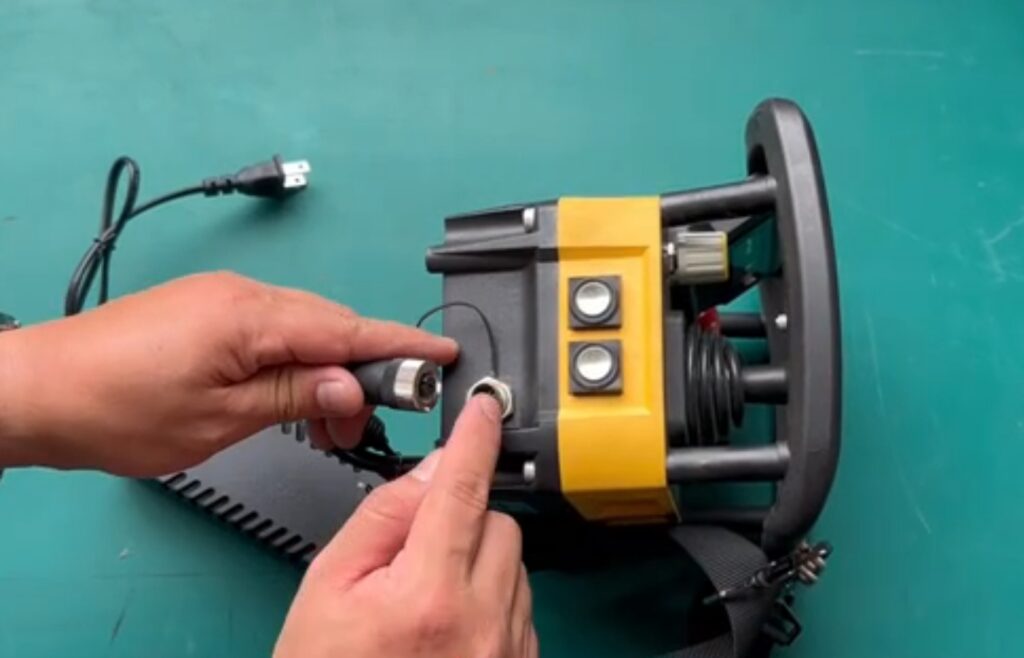
5. Insert the charging head into the charging port and turn the knob clockwise to make it firmly connected.
6. Connect the charger input plug to a 100~220V power source.

7. The charger indicator light changes from green to red, indicating charging has started.
8. When fully charged, the indicator light turns red and the remote control battery level is full.
Once you’ve completed these steps, your remote control will be fully charged and ready for use, ensuring seamless control of your robotic lawn mower. If any issues arise, refer to the user manual or contact customer support for assistance.